Homemade Market Sign DIY
May 31, 2011
What a weekend! I feel exactly the same way as Rachel…completely overwhelmed by how wonderful our day at the schoolhouse actually was and exhausted, but in a very good way! We still can’t believe that everything came together without a hitch and feel so blessed by the crowds of visitors who came to see our amazing vendors and their lovely wares. Each display was gorgeous and unique and obviously struck a chord with customers because everywhere we go we’re still hearing rave reviews and requests for when the next market day will be. As tired as we are, we can’t help but be excited about the next edition of The Old School Market and will be keeping you posted along the way, after a much needed spa day on Wednesday to work out the kinks!
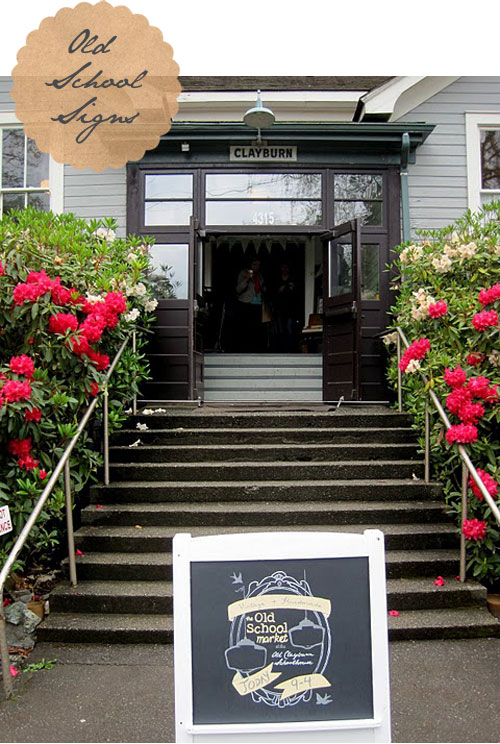
With no extra wiggle room in our market day budget, we made all of the decorations and signs for our event ourselves. As you well know, we have a big thing for vintage maps and what better way to use up our stacks of old atlas’ than to make map bunting. It looked so cheerful strung along the blackboards of the schoolhouse! We’ll be posting more pictures in the next few days so you can get a closer look. But one of our favourite projects (which also happened to be the most time consuming!) were our homemade sandwich boards. We placed two at the main intersections leading to Clayburn Village and placed the largest in front of the schoolhouse. I came across Katie’s fabulous idea of using an old crib to create an easel on her blog, Notes from a Very Red Kitchen, and we thought it would be the perfect way to recycle an old piece into a sign board fitting for our vintage market. What do you think?
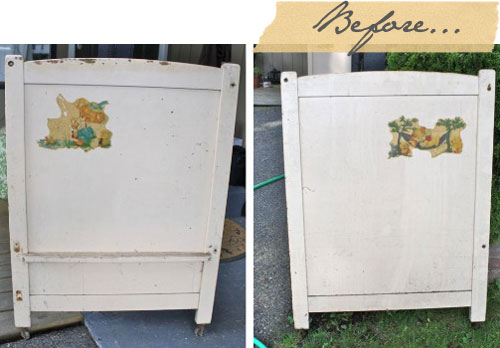
So here’s what we did. After scouring a few thrift shops and even putting a shout-out on Facebook for old cribs, we found one by chance at the back of a dingy junk barn stall. It wasn’t pretty! We left the rails behind and took only the headboard and footboard home with us.
1. We gave them a good hose down, scrubbed them with TSP and gave them a light sanding (Katie recommends another great product that we didn’t have time to source) before priming them with a stain blocking primer. 2. Once primed, we painted the frames with 2 coats of semi-gloss white paint. 3. Then, we taped off the frame and gave the centre square 2 coats of black chalkboard paint. Already looking pretty spiffy, right?
The detailed painting part was by far the most tedious and time consuming. First, we enlarged and printed off our logo in sections and taped them together to fit the chalkboard. Then, we rubbed chalk on the entire backside of the paper and shook off the excess. We carefully taped the image to our board and used a bamboo skewer to trace the entire image….be warned, it sounds as horrible as you would imagine! Once we’d traced all of the details we wanted (we left out the date and a some other wording so that we could use it again) we removed the paper and, voila, we had a chalk outline of our logo! (Sorry, it was late and I was cross-eyed and didn’t think to take photos of these steps!) Next, we used a fine tipped brush (use a good camel hair one) to paint over our chalk tracing with 2 coats of paint. And many hours and 2 sore backs later, here is the result…what do you think?
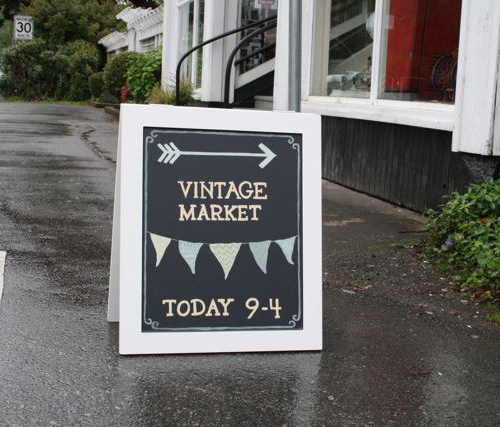
For our other two sandwich boards, Rachel had the great idea of using cabinet doors from our local Habitat for Humanity ReStore. We used the same process as above, but just printed off words to transfer with chalk and painted the flag bunting freehand. All of the paint that we used was leftover from our own homes. My handy hubby attached the hinges for us and we saw more than a few happy customers posing for pictures with our crib sign outside of the schoolhouse on Saturday! The crib easel would be the perfect project for you to make for your own kids or even as a special gift, don’t you think?
Now it’s back to getting some order back into our lives and getting back into the domestic groove of things. It feels good to finally have food back on my shelves again! We’re so thankful to our families and friends for pulling up the while our focus has been on market planning and projects. From bringing kids home from school to babysitting and impromptu play dates….Thank You!
PS…I cannot believe that I failed to credit someone very important in the making of our signs when I was writing this post at midnight last night! A huge Thank You to Jessica MacDonald of Trove Vintage Rentals for getting into our heads and designing the perfect logo for The Old School Market…we LOVE it!


